Turning old Echo Shows into proper Home Assistant panels
How we replaced Fire OS with LineageOS, added Kiosk Satellite, and built a private dashboard, photo frame and voice assistant.
Amazon Echo Shows are almost the ideal Home Assistant panels. They are compact, inexpensive on the second-hand market, and already contain a touchscreen, microphones, speakers and a tidy stand. The problem is the software.
This project started while I was clearing out the garage and found an old Echo Show 8 and Echo Show 5. They immediately reminded me of an earlier attempt to put Home Assistant on our Google Nest Hubs using Cast. That technically worked, but for a variety of reasons it never became the dependable household display I wanted. It always felt borrowed rather than ours.
What I really wanted was the same finished smart-display hardware with a normal Android operating system underneath—something we could boot into our own interface, manage locally and extend without fighting the vendor’s home screen.
Fire OS is designed to keep returning to Amazon’s home screen. You can open Home Assistant in Silk, but it never feels like your display. We wanted something different: a screen that belonged entirely to the house.
This is how we turned two old Echo Shows into dedicated Home Assistant panels. One now lives in the study as a 1280 × 800 dashboard, Immich photo frame, doorbell viewer and voice satellite. The smaller one is being prepared as a bedroom display with a daytime photo frame and a dim clock at night.
It worked, but this is not a zero-risk afternoon project. The first and most important step is identifying the exact hardware.
Before you begin: unlocking the bootloader and flashing an unofficial ROM can permanently brick an Echo Show. It removes the normal Alexa experience, wipes the device and may leave hardware features imperfect. Read the current maintainer threads in full, use files for your exact codename, and make your own decision about the risk.
The hardware trap: the name on the box is not enough
“Echo Show 5” and “Echo Show 8” are product families, not useful flashing targets. The unlock packages, recovery images and ROMs are device-specific.
Our devices were:
| Device | Generation | Year | Codename | Hardware model |
|---|---|---|---|---|
| Echo Show 8 | 1st | 2019 | crown |
C7H6N3 |
| Echo Show 5 | 2nd | 2021 | cronos |
C76N8S |
The current Crown unlock guide is explicitly for the first-generation 2019 Echo Show 8 and warns that it does not work on the second generation.[1] The Cronos guide is just as specific: it is for the second-generation 2021 Echo Show 5.[3]
Do not choose a package because the photograph looks right. Boot the device into fastboot, connect it with a data-capable Micro-USB cable, and ask the bootloader what it is:
fastboot devices -l
fastboot getvar product 2>&1
fastboot getvar all 2>&1
We treated the reported product—CROWN or CRONOS—as a hard safety gate. If it had disagreed with the download, we would have stopped. This mattered immediately: the first ROM link we had for the Show 5 was for checkers, the 2019 first-generation model. Our bootloader reported CRONOS, so that file was rejected before anything was flashed.
Also avoid publishing photographs that show the complete DSN. It is the device’s unique serial number.
What we used
The broad stack was:
- The device-specific amonet unlock package
- TWRP recovery
- Device-specific LineageOS 18.1, based on Android 11
- Kiosk Satellite for the managed Home Assistant display
- A dedicated non-admin Home Assistant user
- Optional Voice Satellite for wake-word and Assist support
- MQTT for device entities and remote automations
- Immich for the photo-frame screensaver
Both of our unlock routes used a Windows or Linux computer and a Micro-USB data cable. The current maintainer guides provide fastbrick scripts, put the Echo into fastboot by holding its three top buttons while applying power, and then take the device into TWRP.[1][3]
We used Linux, but the two installs were quite different. I did the first one, the Show 8, with Winston handling much of the configuration while I worked through the physical steps and prompts. By the time we reached the Show 5, Winston ran almost the whole hack unattended with the Echo plugged directly into the server. I still had to connect it and handle anything that required touching the device, but the archive checks, device verification, unlock flow, ROM transfer and post-install validation were largely automated.
One small but memorable failure was launching the script in a terminal environment where TERM was set to unknown. The script exited before making changes. Running it again in a real terminal with a valid TERM fixed that. More importantly, once the exploit passes its grace period, do not interrupt it—the upstream guides make that warning in capital letters for good reason.[1][3]
Unlocking and installing LineageOS
I am deliberately not copying the complete exploit instructions here. Bootloader tools change, and a stale blog post is the wrong authority for a destructive procedure. Use the latest attachment and steps in the XDA thread for your codename.
Our process looked like this:
- Read the unlock and ROM threads completely.
- Confirm the bootloader product.
- Download the current amonet package for that product.
- Test the downloaded archive before extraction.
- Run the supplied
fastbrickscript from its extracted directory. - Read the detected device and payload before confirming.
- Let the process finish without interruption.
- Verify that ADB saw the device in TWRP recovery.
- Download the matching LineageOS release.
- Compare its SHA-256 with the maintainer’s published checksum.
- Wipe and flash it using the sequence in the ROM thread.
- Confirm the checksum again after transferring the ZIP to the device.
- Wait for the physical LineageOS welcome screen before calling it successful.
For the Crown Show 8, the matching ROM is the unofficial Crown LineageOS 18.1 build.[2] For our Cronos Show 5, it is the Cronos build—not the Checkers build.[4]
The ROM threads currently specify the familiar TWRP sequence: format data, wipe Data/System/Cache, transfer and install the ROM ZIP, format data again, then reboot.[2][4] We automated those same operations through TWRP’s ADB command line, but the on-screen TWRP interface is perfectly adequate.
A successful installer message is not the finish line. We waited for the LineageOS setup screen on the physical display. A fresh ROM normally has USB debugging disabled, so losing ADB after the reboot does not, by itself, mean the boot failed.
The Show 5 caveats are real
The Cronos build is labelled experimental. Its maintainer lists the camera as unavailable, SELinux as permissive, deep sleep as intentionally disabled, microphones as potentially quiet, and the mute button as also acting as the power button.[4]
That makes it a fun and useful household panel, but not a device on which we would store sensitive data. It also means you should test the microphone and speaker before designing the whole installation around voice.
Why we chose Kiosk Satellite
Our first Android attempt was Fully Kiosk Browser. It did the basic job: Home Assistant loaded and the display could be treated like a kiosk. That alone was already better than Cast.
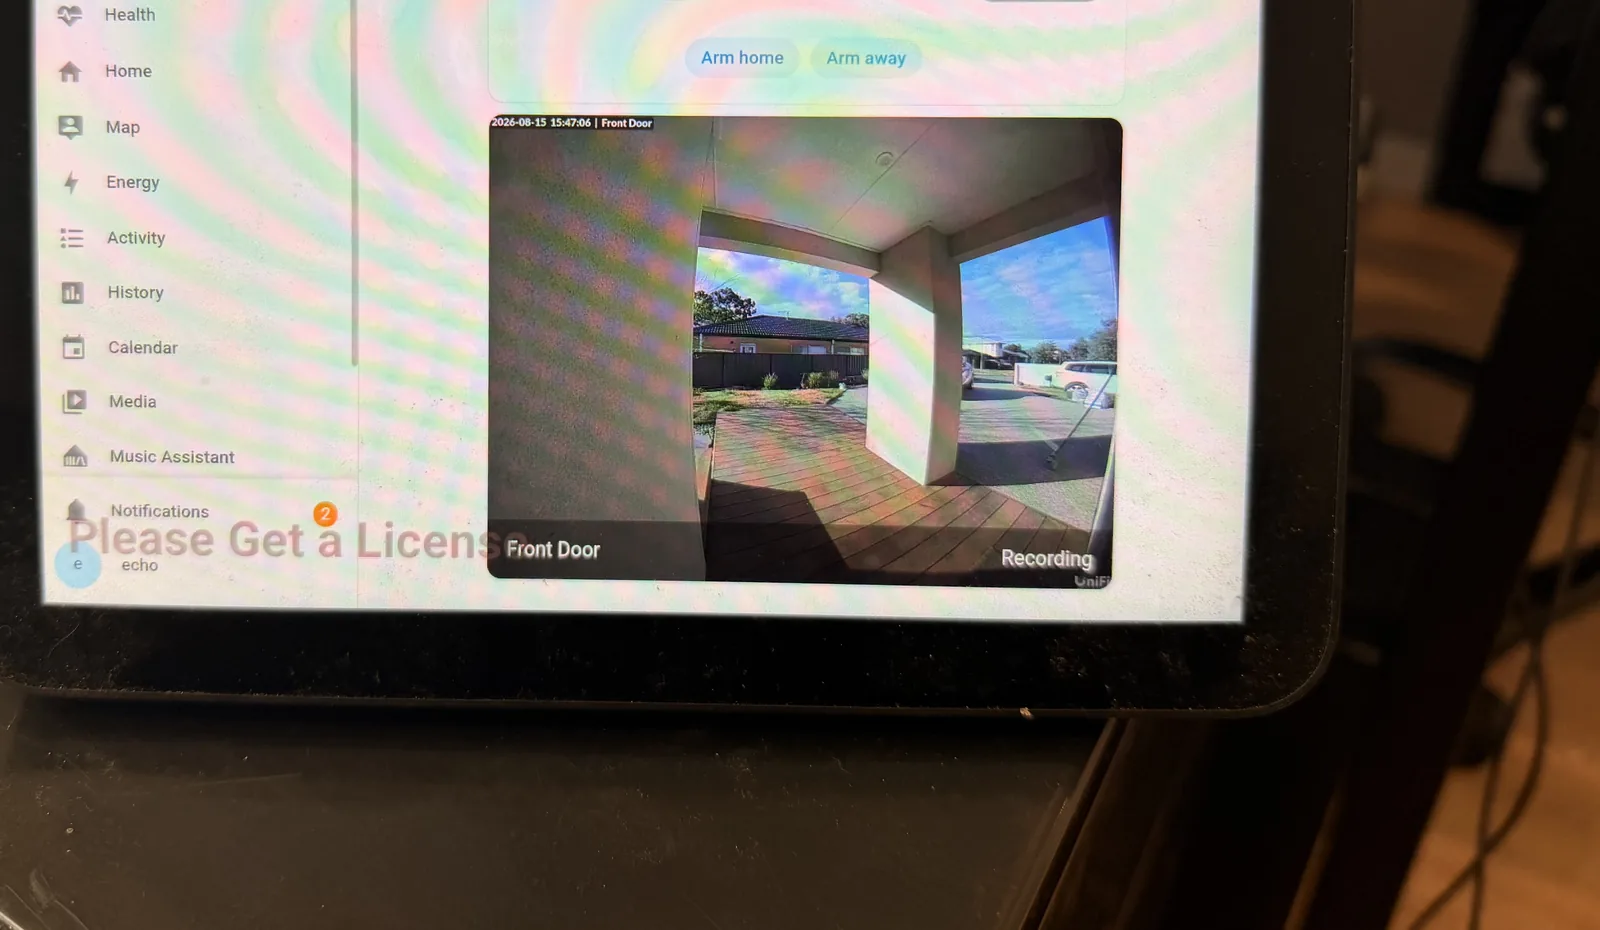
Fully Kiosk proved that the hacked Echo could display Home Assistant, but it also showed how much work remained. The household camera view is visible here; the photograph has been stripped of its original GPS metadata.
Fully Kiosk is a capable general-purpose kiosk browser, and it has an official Home Assistant integration. It just was not the right centre of gravity for this project. The trial watermark was incidental; the bigger issue was that our actual wish list—an Immich photo frame, native camera presentation, MQTT entities, remote management and a voice satellite—would still have required us to stitch several pieces together. We did not want a dashboard that merely stayed open. We wanted the Echo to behave like a coherent Home Assistant appliance.
Kiosk Satellite was a much better fit. It is purpose-built for Home Assistant and includes start-on-boot, kiosk lockdown, remote administration, MQTT discovery, camera views, an Immich screensaver and optional native wake-word handling.[5]
After completing the LineageOS setup:
-
Enable Developer Options by tapping Build number seven times.
-
Enable USB debugging.
-
Download the current Kiosk Satellite APK from its GitHub releases page.
-
Verify the release digest, then install it with ADB:
adb install kiosk-satellite-<version>.apk -
Open Kiosk Satellite and enable Remote Administration.
-
Finish the wizard from another computer at:
http://<panel-ip>:2324
Remote Admin made the rest of the setup dramatically easier. Pasting URLs and tokens from a laptop is better than typing them on a five-inch sheet of glass.
Connect Home Assistant in two separate layers
This was the least obvious part of the setup.
Kiosk Satellite’s long-lived token authenticates the app’s Home Assistant API connection. It does not automatically sign the embedded dashboard into the Home Assistant frontend.
You need both:
- a dedicated, non-admin Home Assistant user and long-lived token for the Kiosk Satellite wizard; and
- a normal frontend login inside the physical WebView, with the session kept signed in.
Do not reuse an administrator account, and never paste a real token into a blog post, dashboard YAML, screenshot or shell history you intend to share.
We then configured:
- the Home Assistant base URL;
- the persistent dashboard start URL;
- start on boot and keep-awake behaviour;
- a Remote Admin password;
- MQTT using a dedicated broker account;
- an exit gesture and kiosk PIN;
- the Immich server with a restricted, read-only API key;
- header and sidebar hiding;
- return-home behaviour after temporary views.
MQTT discovery gave the panel its own Home Assistant device with useful entities for the screen, brightness, volume, current page, screenshots and screensaver state.[5] That was much cleaner than building a collection of one-off Android commands.
One practical trap: changing the Home Assistant header-hiding method can reload the configured start URL. Record both the start URL and the page currently on screen before experimenting. We once removed the header successfully and thought the job was done—only to discover that the panel had quietly returned to the wrong dashboard.
Build a dashboard for the panel, not for a desktop browser
Our Show 8 is 1280 × 800 in landscape. We created a dedicated hidden Home Assistant dashboard at that exact size rather than squeezing an existing tablet dashboard onto it.
The finished study view contains:
- a large clock and date;
- local weather;
- the family agenda;
- a live front camera and latest detection type;
- study temperature, humidity and occupancy;
- compact Sonos controls;
- read-only alarm status that navigates to the proper security page.
The last point is intentional. A kiosk in a shared room should make common actions easy without putting consequential one-tap controls everywhere. Sonos controls can be interactive; alarm state changes deserve the dedicated security screen.
After every UI change we checked a fresh physical screenshot for the right route, hidden Home Assistant chrome, clipping, accidental scrolling and usable touch targets. “No header” on the wrong dashboard is not a pass.
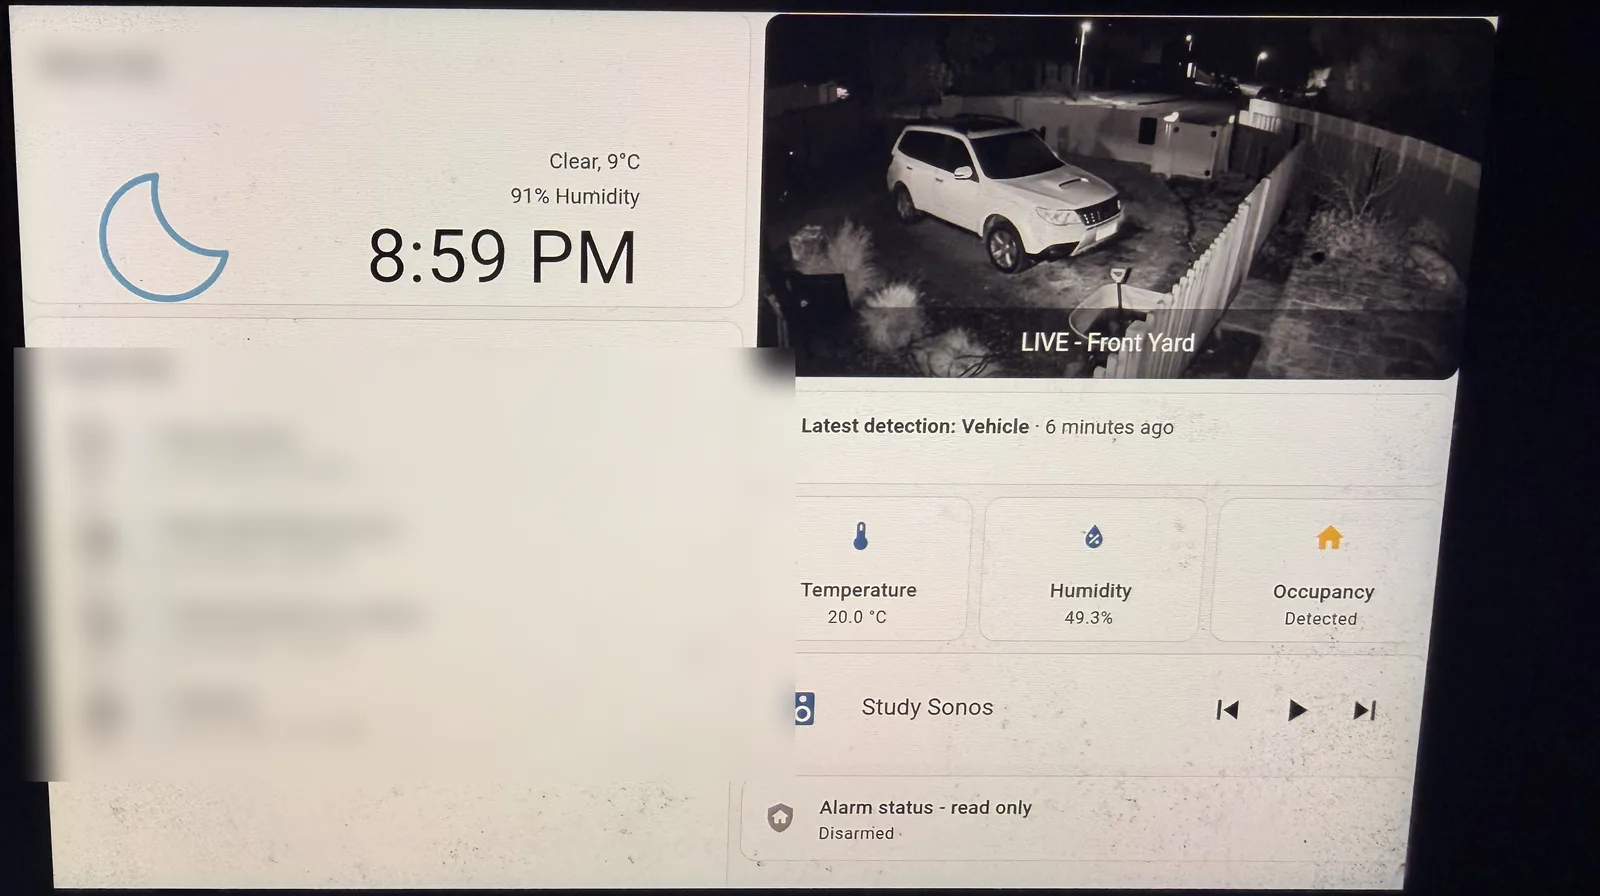
The finished 1280 × 800 Study dashboard. Family agenda and location details have been softened for publication, and the source photograph’s GPS metadata has been removed.
Turn the idle screen into an Immich photo frame
The most visible improvement was not the dashboard. It was what happened when nobody was touching it.
Kiosk Satellite can use an Immich library or album as a screensaver.[5] We created a restricted Immich API key with only the read permissions needed for photos, validated it in Remote Admin, and set the Show 8 to become a family photo frame when idle.
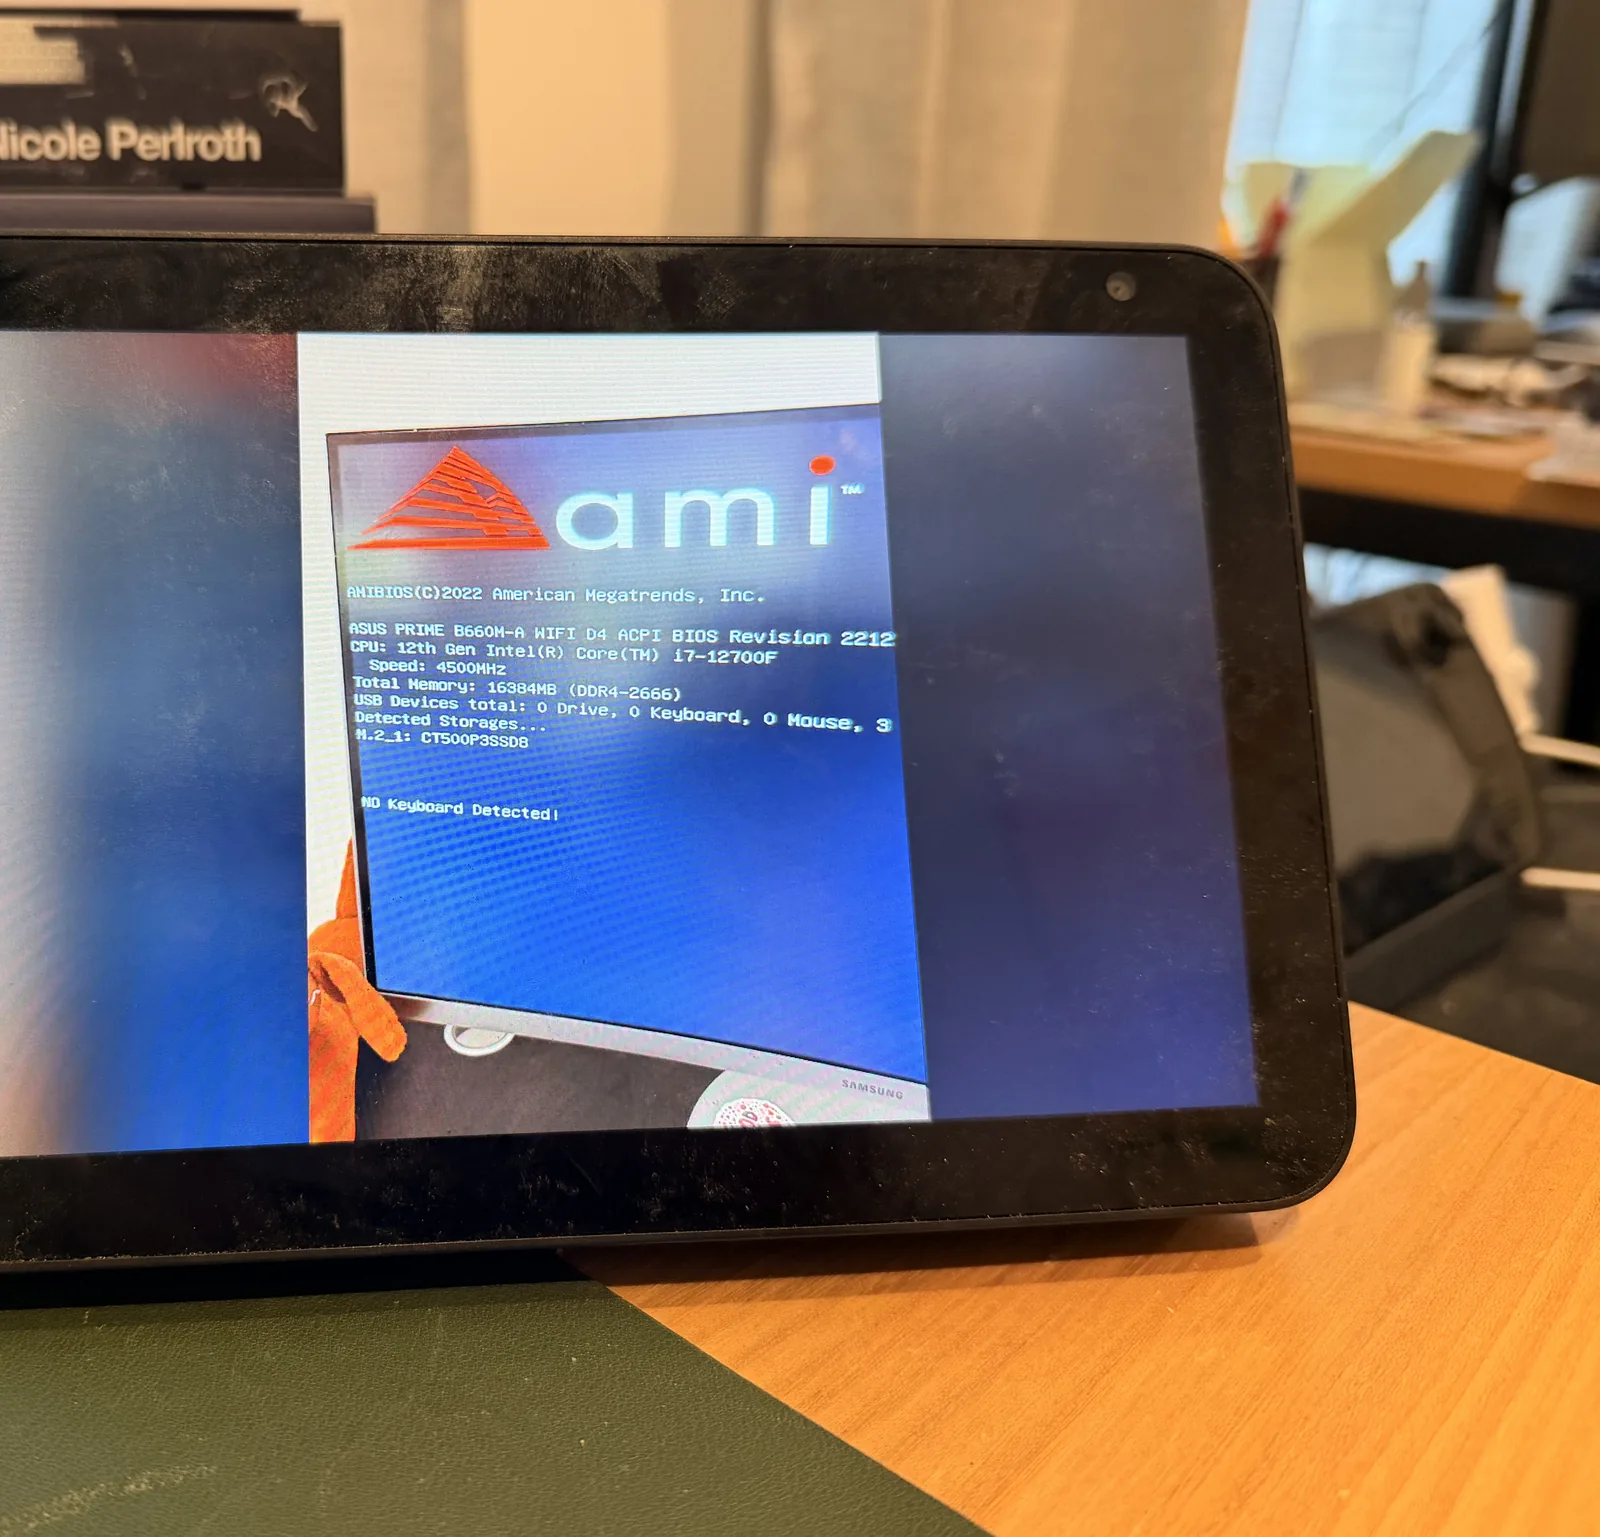
This was the part that made the display feel at home: when nobody needs controls, it goes back to being a photo frame rather than another glowing dashboard.
On the smaller bedroom display, the planned schedule is more restrained:
- daytime: Immich photos at comfortable brightness;
- night: a very dim clock, with photos and widgets disabled.
A schedule is not complete until a real photo has rendered. Saving an Immich URL without a valid key can look configured while doing nothing.
Add Home Assistant voice—without pretending it is Alexa
Voice was optional, but too interesting not to try.
The Voice Satellite integration creates a proper assist_satellite entity in Home Assistant and adds wake words, conversations, timers, announcements and visual feedback.[6] When it runs inside Kiosk Satellite, wake-word detection can be handed to the Android app’s native engine, which keeps listening when the display is covered by the screensaver or switched off.[5][6]
Our setup was:
- Install Voice Satellite through HACS.
- Add the integration in Home Assistant.
- Create a uniquely named satellite for the room.
- Select that entity on the panel.
- Choose the Assist pipeline, wake word and TTS output.
- Grant microphone access only after the basic dashboard was stable.
- Verify that the intended satellite—not another tablet’s entity—changed to
idleand thenlistening.
On older Echo hardware, microWakeWord is the conservative starting point because it runs on CPU and does not require WebGPU.[6] The Show 8 works as a useful Home Assistant voice satellite, although it is not as quick as a modern purpose-built voice appliance. Tightening the end-of-speech detection helped response time, at the cost of being less forgiving of pauses mid-sentence.
This does not recreate Alexa. There is no Amazon account, no Alexa service and no promise that every microphone quirk in an unofficial ROM will disappear. What we gained was a local Home Assistant interface with our own Assist pipeline and automations.
The automation that made it feel finished
The best feature is the doorbell sequence:
- The panel is showing family photos.
- The doorbell event fires.
- The screen wakes and makes an announcement.
- The live front-door camera appears for 30 seconds.
- The panel returns to the study dashboard.
- The Immich screensaver resumes.
The restore steps matter. Event-driven displays should behave like reversible state transitions; otherwise one doorbell press can strand a wall panel on a camera view all afternoon.
We use dedicated Home Assistant event entities for doorbell and vehicle detections where available, rather than treating every motion change as a visitor.
Was it worth it?
For the Show 8, absolutely. It went from a device we were not using into one of the most useful screens in the house:
- Idle: family photo frame
- Touch: purpose-built study dashboard
- Doorbell: announcement and live video, then automatic restoration
- Voice: local Home Assistant wake word and Assist pipeline
- Management: browser-based Remote Admin and MQTT entities
The Show 5 is more compromised because its ROM is experimental, but it still has a strong future as a small clock, photo frame and household status panel.
The surprising part was that flashing LineageOS was only half the project. The difference between “Home Assistant opens on it” and “this feels like an appliance” came from the boring details: exact hardware identity, separate kiosk credentials, a panel-specific dashboard, bounded automations, remote recovery and a useful idle state.
That is what finally made the Echo Show feel less like hacked Amazon hardware and more like part of our home.
Sources
[1] https://xdaforums.com/t/unlock-root-twrp-unbrick-amazon-echo-show-8-1st-gen-2019-crown.4766687 — Echo Show 8 (crown) bootloader unlock guide [2] https://xdaforums.com/t/rom-unofficial-11-crown-lineageos-18-1-for-the-amazon-echo-show-8-2019.4766709 — LineageOS 18.1 for Echo Show 8 (crown) [3] https://xdaforums.com/t/unlock-root-twrp-unbrick-amazon-echo-show-5-2nd-gen-2021-cronos.4772596 — Echo Show 5 (cronos) bootloader unlock guide [4] https://xdaforums.com/t/rom-unofficial-11-cronos-lineageos-18-1-for-the-amazon-echo-show-5-2021.4772598 — LineageOS 18.1 for Echo Show 5 (cronos) [5] https://github.com/jxlarrea/kiosk-satellite — Kiosk Satellite [6] https://github.com/jxlarrea/voice-satellite-card-integration — Voice Satellite for Home Assistant